
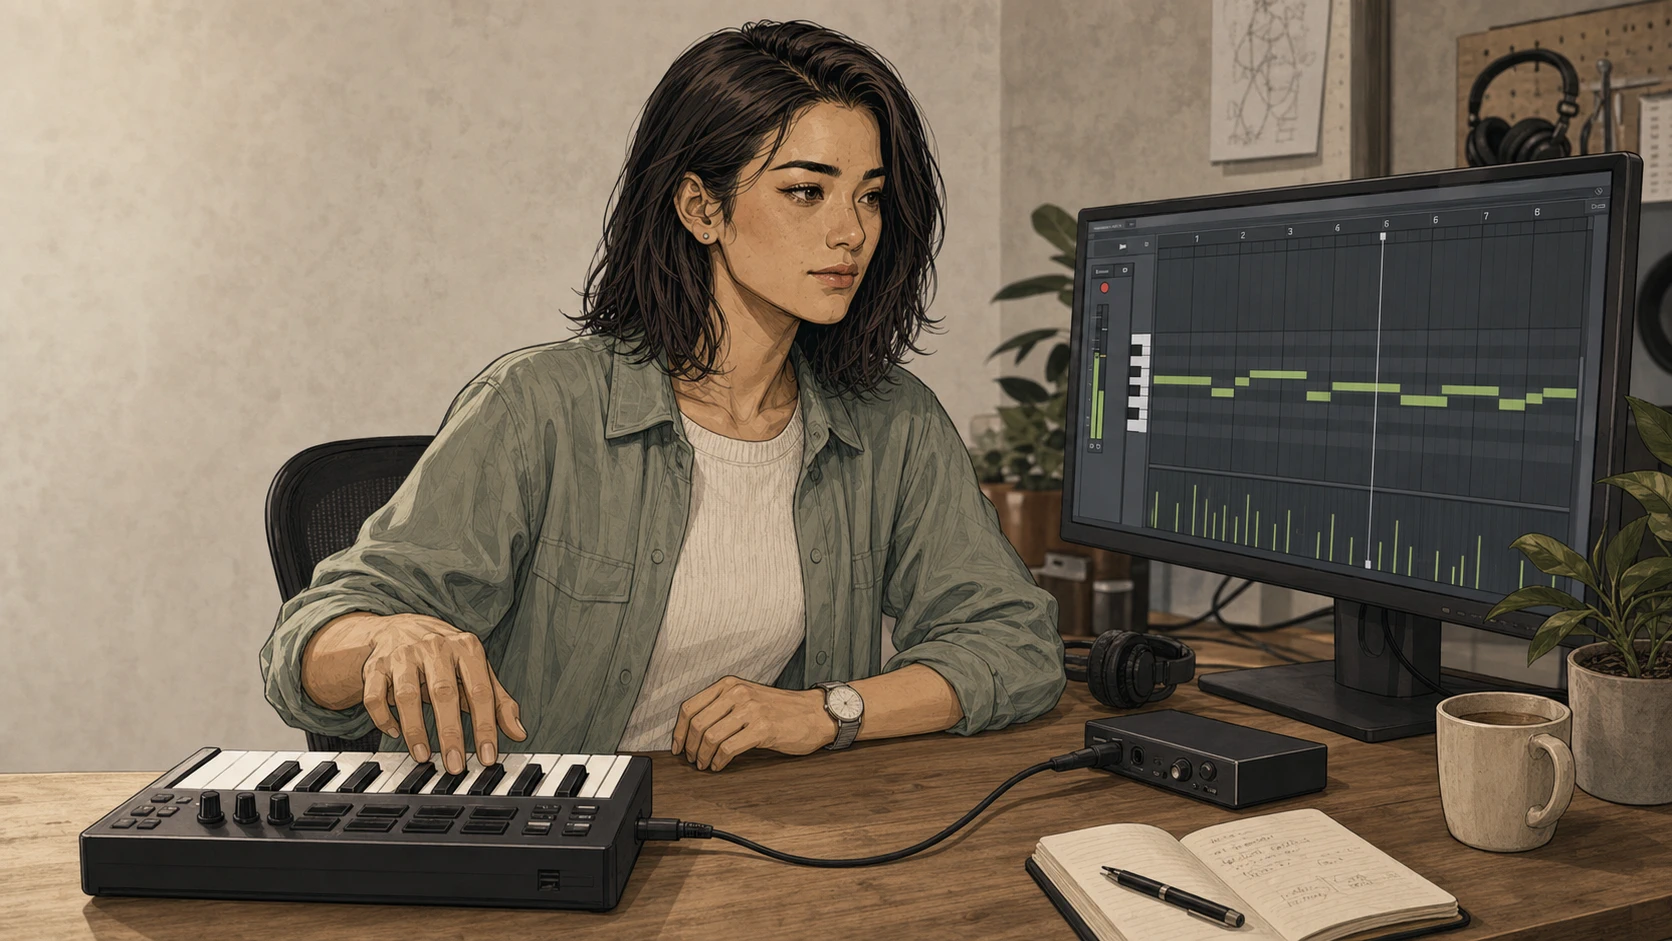

Plugging in a MIDI controller does not mean Studio is ready to record it.
Four separate states have to line up:
browser sees device → Studio track receives device → track is armed → recording begins
These look like one operation when everything works. They are not. Treating them as separate checkpoints makes the setup faster to understand and much easier to troubleshoot.
This guide follows one complete, reproducible path: create a MIDI track, connect or choose an input, confirm the instrument responds, record a performance, and clean it up in the piano roll. Suno also documents MIDI clips as input for generated audio, but its current first-party instructions do not establish that conversion sequence precisely enough for me to teach it click by click. I’ll keep that boundary visible rather than invent the missing steps.
Before you press Record
Suno Studio 2.0 is currently available to Premier subscribers. Suno recommends the latest version of Google Chrome for Studio, and its current documentation says Safari does not support Web MIDI. If you are using a hardware controller, Chrome is the documented route.
Studio runs in a browser, but the controller still needs to work with the computer underneath it. Connect the controller by USB, power it if required, and make sure the operating system recognizes it before asking Studio to use it. Suno does not publish a universal controller compatibility list, so I would not assume that every device or transport control behaves identically.
If you are working without hardware, you can still complete this workflow with Studio’s playable keyboard. I’ll separate that path below.
Create the MIDI track
Start from the timeline.
- Click + Track in the footer below the last track. The documented shortcut is Shift+T.
- In the Add a track dialog, choose MIDI. You can click it, navigate with the arrow keys and press Enter, or press M while the dialog is open.
- Confirm that a new MIDI track appears on the timeline.
Every new MIDI track currently loads Suno’s Wavetable instrument with a basic synth patch. That detail matters: MIDI contains note instructions, not sound. The instrument in the track’s effects rack is what turns those notes into audio.
Before connecting anything else, give the track a quick response check. Open the playable keyboard or click notes with the mouse. You should hear the synth. If the track exists but stays silent, confirm that an instrument is still loaded before troubleshooting the controller.
Connect the controller, then select it
There are two different connections here:
The controller is physically connected to the computer.
The MIDI track is receiving that controller as its input.
Do not collapse those into one step.
- Plug in the controller.
- When the browser asks for MIDI access, grant the permission for Studio.
- In the MIDI track header, open the track’s input selector.
- Choose the controller you want that track to receive.
- Play several notes.
The confirmation cue comes before recording: the track’s instrument should respond in real time. You should hear the Wavetable patch and see activity on the track.
If nothing responds here, don’t troubleshoot recording yet. Studio is not receiving the controller. Check the chain in order: Chrome, browser permission, physical device, then the selected input. Move on only after playing the controller produces an audible or visible response.
No controller? Use musical typing
Studio’s playable keyboard turns the computer keyboard into a MIDI input.
- Focus or arm the MIDI track.
- Click the keyboard icon at the bottom right. Suno’s current shortcut sheet documents Cmd+K on Mac and Ctrl+K on Windows.
- Confirm that an instrument is loaded on the track.
- Play with the typing keyboard.
The documented layout uses A through ; for white keys and W, E, T, Y, U, O, P for black keys. Z/X moves the octave down or up. C/V lowers or raises velocity.
Play a few notes before recording. The same rule applies as with hardware: if the instrument does not respond, stop here. Arming and recording will not repair an input path that is not working.
Arm the track and record the performance
Once the track already responds, the recording step is short.
- Select the A control on the MIDI track to arm it.
- Confirm the intended device is still selected as the track input.
- Place the playhead where you want the take to begin.
- Click the red Record button above the timeline, or press Shift+R.
- Play the part.
- Press Stop or the spacebar.
The recorded take should land on the timeline immediately as a MIDI clip. That clip is the proof that recording occurred. Hearing the synth during the performance only proves the input and instrument path worked; it does not prove the track captured the notes.
If you need preparation time, hover over the Record button. Suno currently documents two options:
- Count-In gives you 1, 2, or 4 bars before recording starts.
- Pre-Roll plays 1, 2, or 4 bars of the existing timeline before recording begins.
Use Count-In when you need a measured lead-in. Use Pre-Roll when hearing the material before the entry helps you place the performance in context.
Edit the MIDI in the piano roll
Double-click the recorded MIDI clip. Studio opens the piano roll in the lower editor: pitch runs vertically against a piano keyboard, and time runs left to right.
For a first editing pass, you only need five operations.
Move and resize notes
Drag a note block to change its pitch or timing. Drag either edge to shorten or lengthen it. The note should move or resize while remaining inside the same MIDI clip.
Add and remove notes
Double-click empty space in the piano roll to add a note. You can also hold Alt to flip between select and draw behavior while working in the editor.
To remove a note, select it and press Backspace or Delete. Those keys are documented for both Mac and Windows.
Correct timing with quantization
Select the notes you want to align, then press Shift+Q. Quantization snaps the selected notes to the current grid.
Listen after quantizing. The notes should align more tightly, but a grid correction can also remove timing you intended to keep. Quantization is a correction tool, not a requirement that every performance become mechanically even.
Adjust velocity
Click the Automation toggle in the lower right of the piano roll to open the velocity panel. Each note is represented by a stalk in the lane below the grid. Drag those stalks to change how hard the notes hit.
Velocity is still MIDI data. Whether it produces a dramatic change or a subtle one depends on how the loaded instrument responds to it.
Confirm the instrument relationship
Play the edited clip and listen to the result. If the notes are correct but the sound is wrong, the recording is not necessarily damaged. The MIDI clip holds pitch, timing, duration, and velocity information; the Wavetable patch or another instrument turns that data into sound.
Change the instrument or preset when you want a different timbre. Edit the MIDI notes when you want a different performance. Those are separate decisions.
Optional: map a hardware control with MIDI Learn
MIDI Learn is useful when you want a controller knob or fader to move an instrument or effect parameter.
Right-click the parameter, choose MIDI Learn, then move the hardware control you want to bind. Suno says the binding saves with the project and that one hardware control can drive more than one parameter.
This is not required to record notes. If basic input is failing, leave MIDI Learn alone until the track responds normally.
What Suno currently says about MIDI-to-generated audio
Suno’s Studio 2.0 documentation says a MIDI clip can be used as a prompt for new audio generation and describes the result as an audio “cover” or reinterpretation of the MIDI. Its recording guide gives examples such as turning a played synth melody into a different performance or instrument.
That is a real documented capability. The current first-party pages do not, however, provide a complete reproducible sequence for selecting the MIDI clip, invoking the exact generation control or Chat action, confirming the intended scope, and locating the resulting audio. Studio Chat documentation confirms that selected context matters and that generated alternate audio can be created for a selected section, but it does not close every procedural gap in the MIDI-specific conversion path.
So this guide stops at the workflow Suno documents precisely: recording and editing MIDI. When Suno publishes the exact conversion path—or ACL Tracks has hands-on evidence of the live interface—the generative step can be taught without guesswork.
One expectation is already clear: generation is probabilistic. MIDI supplies musical constraints; it does not promise that generated audio will preserve every note, articulation, or timing decision deterministically. Suno also acknowledges that newly generated material can sometimes land slightly ahead of or behind the beat. Its current advice is to check new generations against the metronome and solo the generated instrument while judging alignment.
Troubleshoot by symptom
Nothing happens when I play the controller
Stay in the input chain.
- Confirm you are using a browser with Web MIDI support; Suno recommends current Chrome and says Safari does not support Web MIDI.
- Confirm the browser received MIDI permission.
- Confirm the controller is connected, powered, and recognized by the computer.
- Confirm the correct device is selected in the MIDI track’s input selector.
- Focus or arm the MIDI track and make sure an instrument is loaded.
- Play again and look for track activity or an audible response.
Do not change recording settings until this test works.
I hear the instrument, but nothing records
The input path is working. Check the recording state.
- Confirm the MIDI track’s A control is armed.
- Confirm Record actually started in the transport.
- Stop the take and look for a new MIDI clip on the timeline.
No clip means the notes were not captured, even if you heard them while playing.
The notes recorded, but the sound is wrong
Separate the performance from the instrument. Open the piano roll and confirm the notes, timing, lengths, and velocities. If those are correct, inspect the instrument or preset loaded on the track.
Changing a synth patch changes the sound without rewriting the MIDI performance.
Safari does not see the MIDI controller
This is a documented browser limitation, not evidence that the controller failed. Suno currently says Web MIDI is unavailable in Safari and recommends Google Chrome for Studio.
A later generated part is slightly off the beat
That does not prove the original MIDI recording failed. Compare the MIDI clip to the grid first. Then check the generated audio separately with the metronome on and the generated instrument soloed. Suno currently documents slight early or late placement as a generation-timing issue.
The checkpoint that matters
Before you press Record, the MIDI track should already respond to the notes.
That one checkpoint separates most setup failures from recording failures. Once the input path is visible, the rest of the workflow becomes ordinary: arm, record, stop, open the clip, edit, and listen again.
Complexity is allowed. Confusion is not. Keep each state separate, confirm it, and only then move to the next one.
Sources and verification notes
This tutorial was verified against current first-party Suno material on August 20, 2026:
- Introducing Suno Studio 2.0 — Premier access, recommended browser, Safari/Web MIDI limitation, system requirements, MIDI features, generative MIDI description, and timing limitation.
- MIDI in Studio — track creation, Wavetable default, input selection, playable keyboard, piano roll, quantization, velocity, MIDI Learn, and hardware recording.
- Recording in Studio — track arming, input/device selection, Record, stop behavior, Count-In, and Pre-Roll.
- Editing Clips in Studio — current Arrangement Editor and MIDI clip controls.
- Suno Studio 2.0 keyboard shortcuts — current Mac and Windows shortcuts for recording, musical typing, deletion, quantization, and MIDI editing.
- Studio Chat — selection-aware Chat context and generated alternate audio capabilities.
- Studio 2.0 release notes and Studio 2.0 launch article — release status and the documented use of MIDI clips as generative prompts.
ACL Tracks did not supply hands-on controller testing for this article. The instructions therefore describe documented current behavior without claiming that Lena personally tested a device or measured timing or latency.
